drag

This Month In Pictures

What I've been up to during the past month, via my instagram @swiczeniuk!


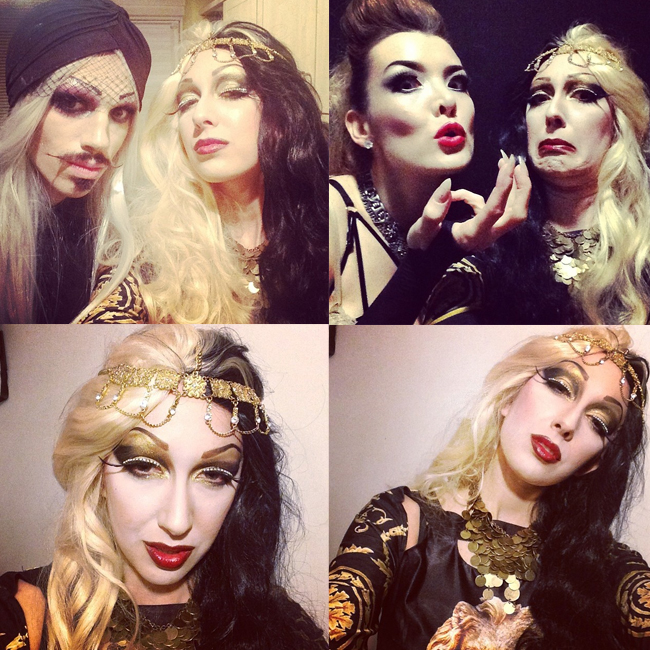
You may have noticed I'm a fan of Ru Paul's Drag Race, and one of the most hilarious and memorable contestants has got to be Alyssa Edwards. So when I saw that she was performing in London with current Drag Race competitior Laganja Estranja, I snapped up some tickets. On Thursday myself, Mark (top left), Miranda (top right) and her boyfriend Anthony went down to The Black Cap in Camden to watch the show. 

We had SO much fun dancing and the show itself was brilliant! The only issue was that the venue was packed, so we ended up sweating like crazy. It was worth it, though, and we have booked tickets for Manilla Luzon next month!

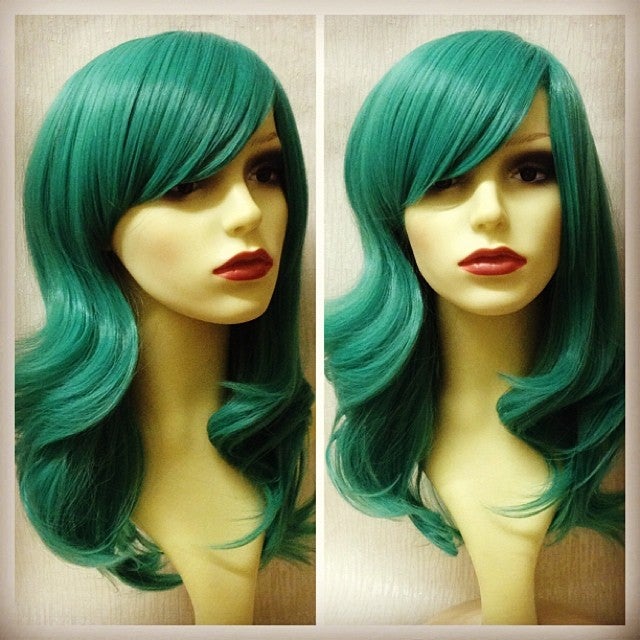
I put together the tackiest outfit I had in my wardrobe, that I could still move around in. I'm loving my new lace front wig from Geisha Wigs! 


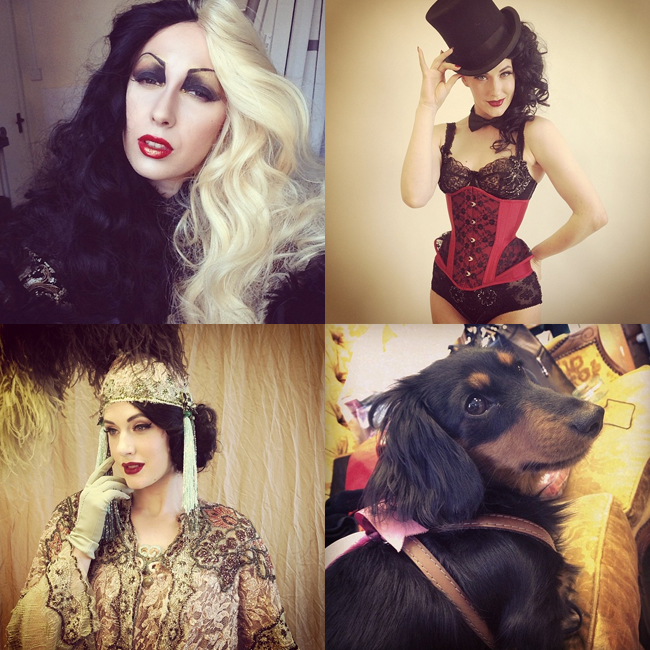
Top Left - Wearing my Geisha Wigs split wig again for a shoot with Scott Chalmers!

Top Right - A behind the scenes shot of one of the many, many looks I shot with Miss Betsy Rose a few weeks ago. She's wearing a corset by Ava Corsetry, and the hair and makeup was done by Bella Noell

Bottom Left - Another preview of Betsy! This costume was created by Alston Stephanus, for Betsy to perform in in his show, Sublime Boudoir. The detail on each piece is absolutely astounding, I can't wait to finish up the images!

Bottom Right - Betsy's beautiful little lady, Freida! The cutest dog I've ever met!!


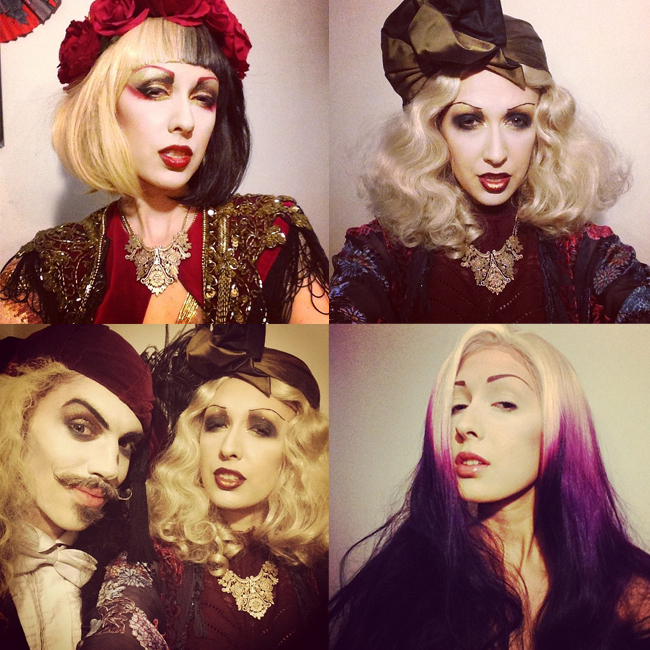
Top Left - I haven't worn my red and gold style for a while! Perfect for wearing to DJ at The Aeronaut in Acton.

Top Right/Bottom Left - A little bit more dressed down for a mid-week champagne reception/meeting! 

Bottom Right - Testing out (forgive the lack of makeup!) another lace front wig from Geisha Wigs - I've yet to shoot in this beauty, but I LOVE it.


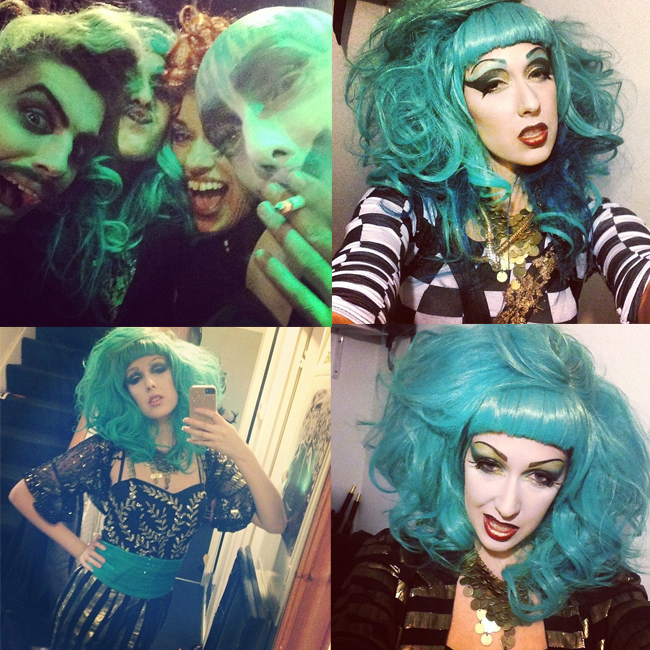
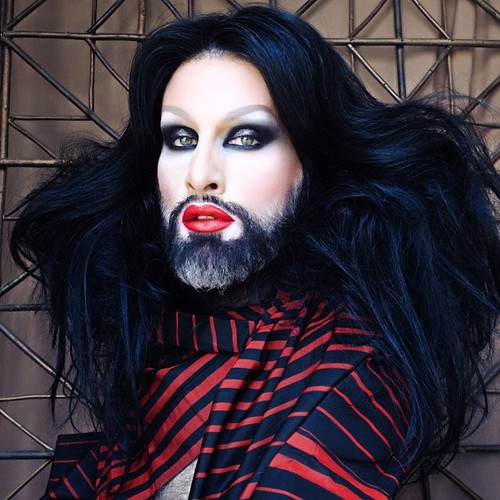
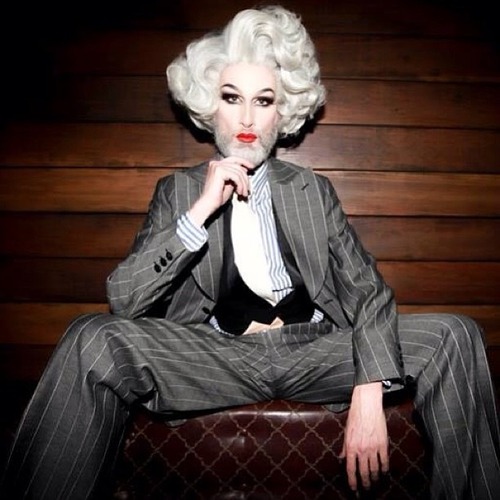
Top Left/Top Right - My birthday (13th March) happened to fall on a thursday, which also happened to be the day that my lovely friend Mr Pustra was hosting Room Service, a gay club based in Soho. I donned my biggest wig and we partied all night, it was so so fun. It's rare that I go out without working, so it was a change to be able to just dance, chat and relax! 

Bottom Left - Another outfit for DJing at The Aeronaut

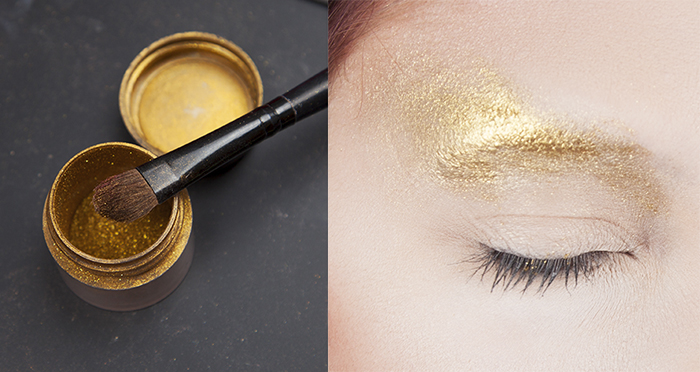
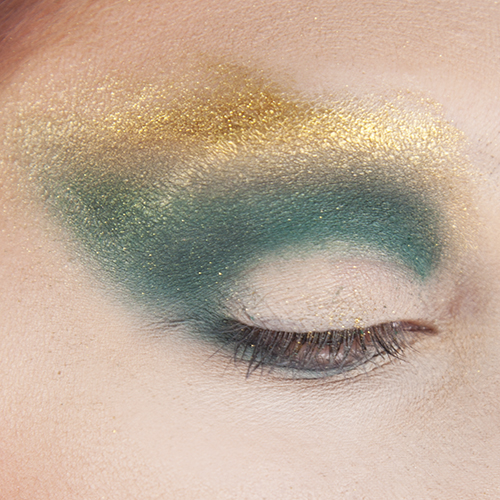
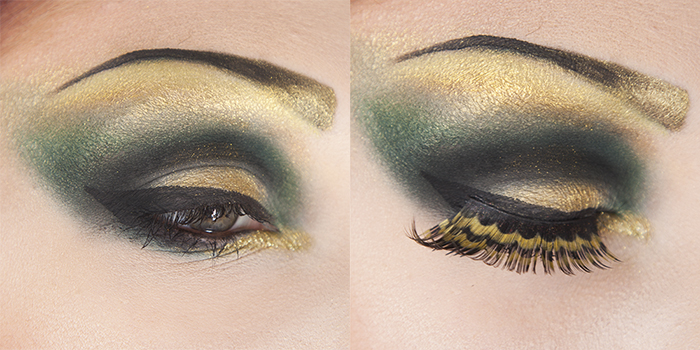
Bottom Right - A snap of my finished makeup for the tutorial I made a few weeks ago, check it out here!


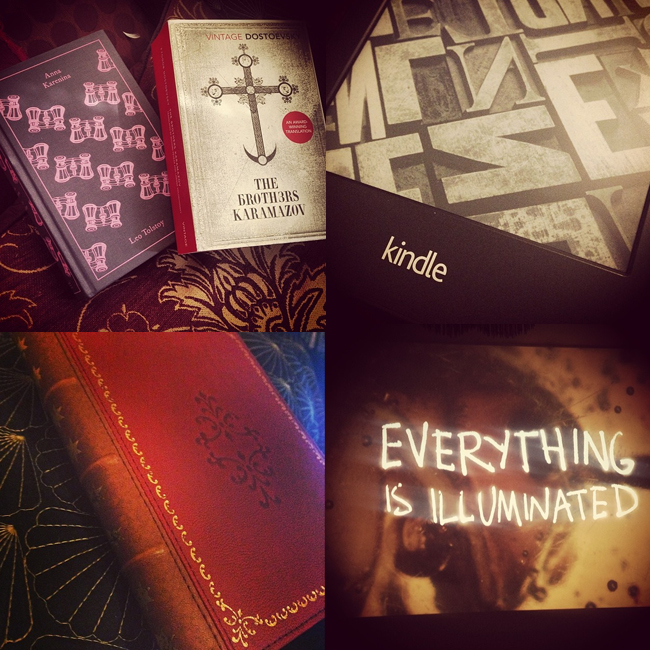
Birthday treats! I pretty much asked for books this year, or book related things. The top left are books from my parents (they also bought me plane tickets to Prague in August!). My wonderful boyfriend also bought me a kindle and an AWESOME cover for it - I thought that I would find the transition to kindle a bit difficult, but I have to say that I don't find it jarring at all. I've run out of space for books, so I'd rather just purchase the ones that I consider particularly special in hardback editions.

At the beginning of the month we also had a day of watching some of my favourite films on our projector screen. We re-watched The Pianist and Everything Is Illuminated - can you guess that I tend to love films that make me completely distraught?!


Makeup Tutorial: Green and Gold


So a few people have asked me to do a makeup tutorial, for blending in particular. Before I start, I'll point out that I'm not a professional makeup artist, so my techniques may not be the "proper" way, but I've been asked to show how I do it. If you'd like to know how makeup artists do it, you can probably find dozens of tutorials on Youtube.


The makeup I used for this look, not including my foundation and contouring. 

Before you begin, make sure you've moisturised your skin. Some people choose to do their eye makeup before their foundation (to avoid a mess), but I always do my foundation first. Before I put on my foundation I used a primer; in this case I used Too Faced Shadow Insurance in Candlelight, which has a nice gold sheen.

To begin your blending, use the lightest colour first, which should sit on your brow bone. I use a fairly large brush for this. Goldilux from Sugarpill is my saviour.


Choose your main colour for your eyes; I'm doing a green and gold look, so I've gone for the Forest Green on my Crown Brush palette. If you want a strong look like mine, choose a strong colour (like a red, or a blue), but you could also recreate this technique with neutral colours like browns or greys for a smokey eye look.

Using a slightly smaller brush, pull the colour into the crease of your eye, rounding underneath the eye. Make sure you get the pigment strong in the crease of your eye (don't worry about being neat right now).


Either use another brush (I used the other end of my brush, which was a much smaller brush-head) or your fingertip (clean, obviously!) to smudge the pigment up into the gold. I drew the green up and out into a wing as this suits my eye-shape; you might want to keep to a rounded shape, if you prefer. Experiment with which shapes suit your eyes.

You can also use a lighter green colour to help blend the colours together.


Use a black pigment in the crease of the eye, using the same technique as above to blend the edges into the green pigment. Keep your eyelid clear of colour for now.


Use the gold pigment on the eyelid to make it pop. My eyes are quite squinty (although I do play that up by having such heavy makeup on the top of the eye rather than underneath) so to help open them up, I always put the lighter pigment into the bottom corner of my eyes. 

Line your lower lid with black kohl eyeliner (I use Maybelline Expert Eyes pencil liner) and use mascara on the top and bottom lashes (at the moment I'm using Maybelline's Great Lash)


Finish off your look with liquid liner on the top eyelid (I swear by Collection 2000 Fast Stroke), keeping the line thin in the corner of the eye, and thicker towards the middle and edge. I create a wing shape to echo the green and black. 

I also add some extra sparkle using gold glitter, and ombre gold-black eyebrows (I don't have a tutorial for these, because Mathu Anderson's tutorial is so on point). If you want a more over the top look, choose some big lashes. I found these amazing gold and black ones on Boohoo.com (unfortunately no longer available, but these lashes from Sugarpill also look amazing) - I've cut them down slightly to fit my eye, which gave me an extra piece to place in the bottom corner of my eye.


Lips! I can never understand WHY some people don't blend their lipstick like they would their eye makeup. I keep seeing dark lipliner and light lipstick which hasn't been blended together, creating a look that's only fit for a halloween costume ;)

For full, 3D lip realness, moisturise your lips before you begin, then line with a dark lip liner. If the shape isn't completely perfect, you can always fix it as you go. Fill the middle of your lips with your chosen lipstick (I used Rimmel Lasting Finish in Alarm). Now, using your lipliner, blend in the edges into the lipstick (just imagine how you would shade a pencil drawing). To finish off, use your gold pigment to dab in the middle of both the top and bottom lips. 

Voila!

I hope this tutorial helps; I'd love to see the looks you create so feel free to post a link to photos in the comments.


Check out my new wig! I just got this from Geisha Wigs, and this is what it looked like before:

10 minutes of styling, this is what it looked like after.

Thank you, Mama.